If you're new to Levine's Web Hosting and looking to get started, this article is for you!
In this article, we'll walk you through step-by-step how to create your very own Levine's Web Hosting account!
Note: You can skip steps 1-3 and go directly to the registration form by clicking here: https://levineswebhosting.com/purchase/register.php
- Navigate to the portal home located at levineswebhosting.com/purchase
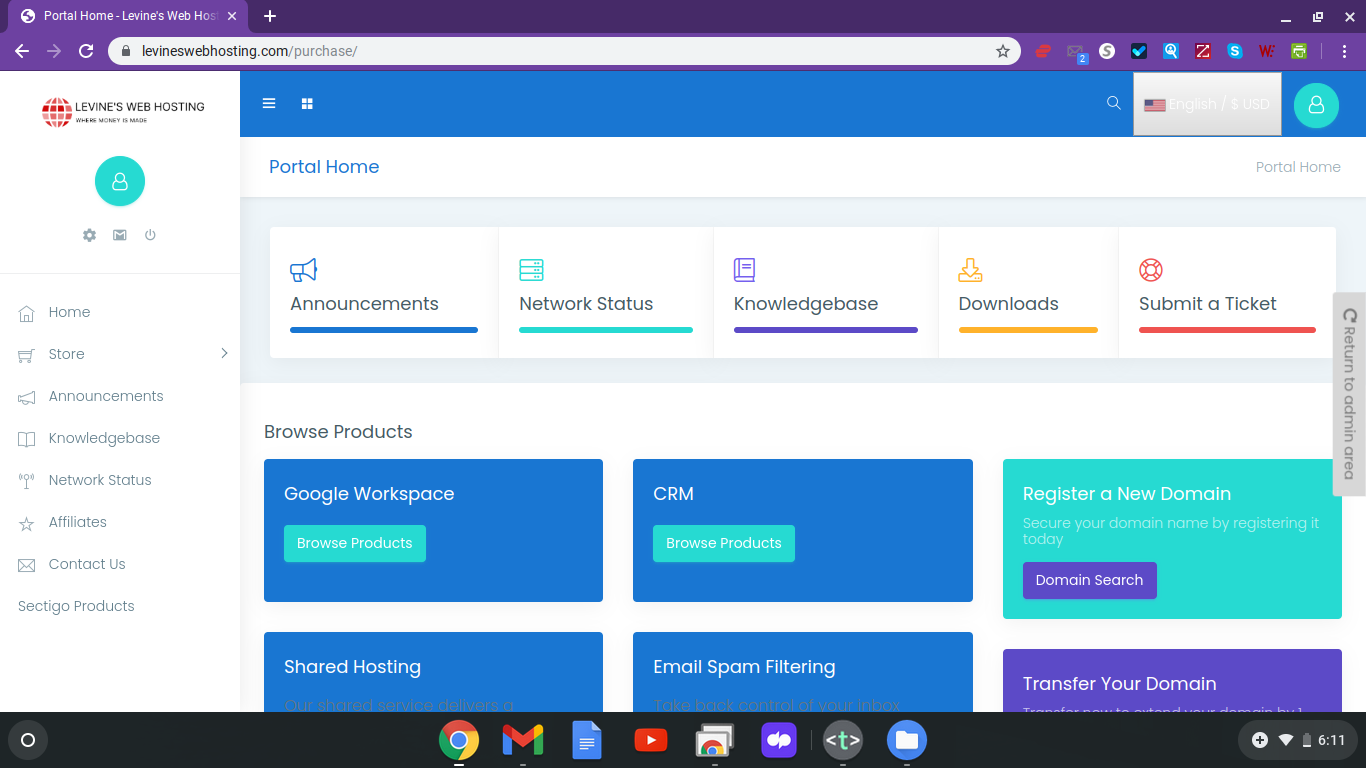
- From here, click the little blue avatar in the top right-hand corner of the screen, a drop-down menu will appear
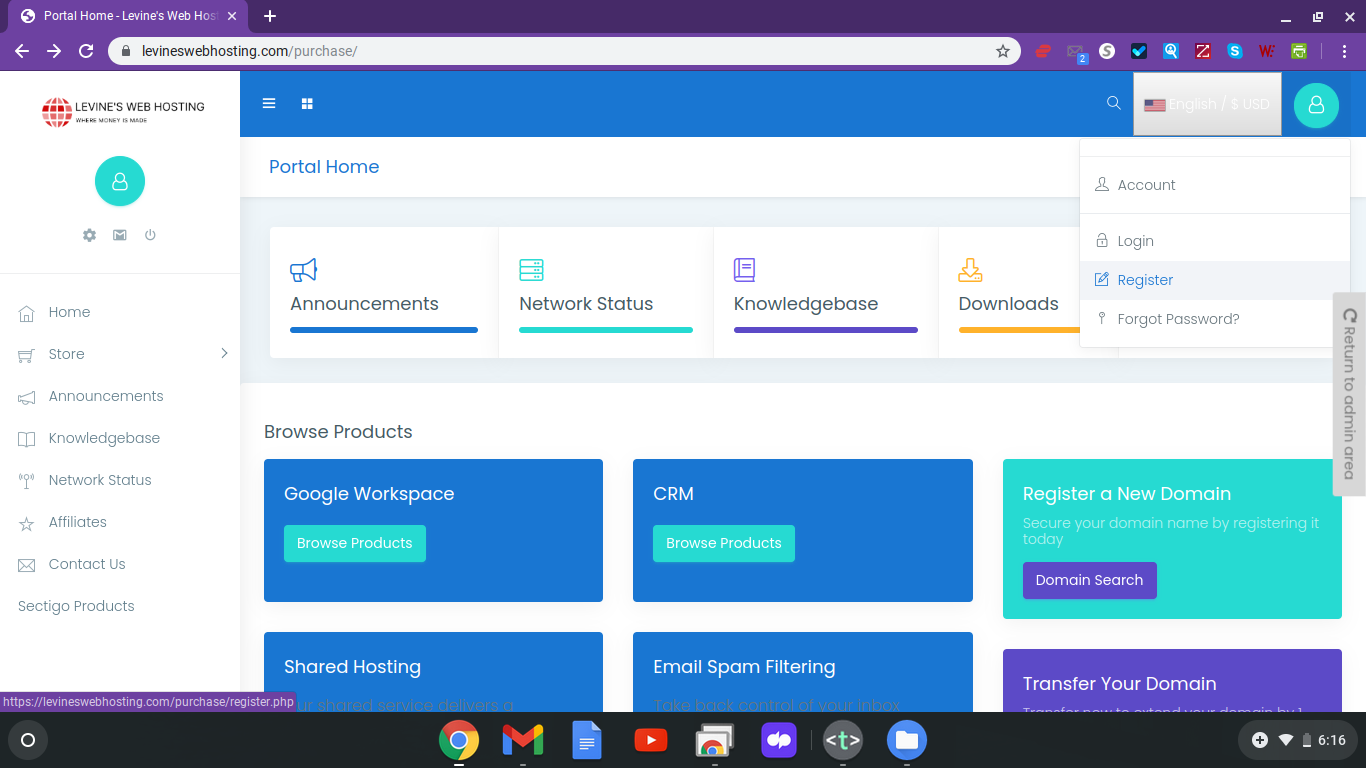
- Then click "Register" from the drop-down menu
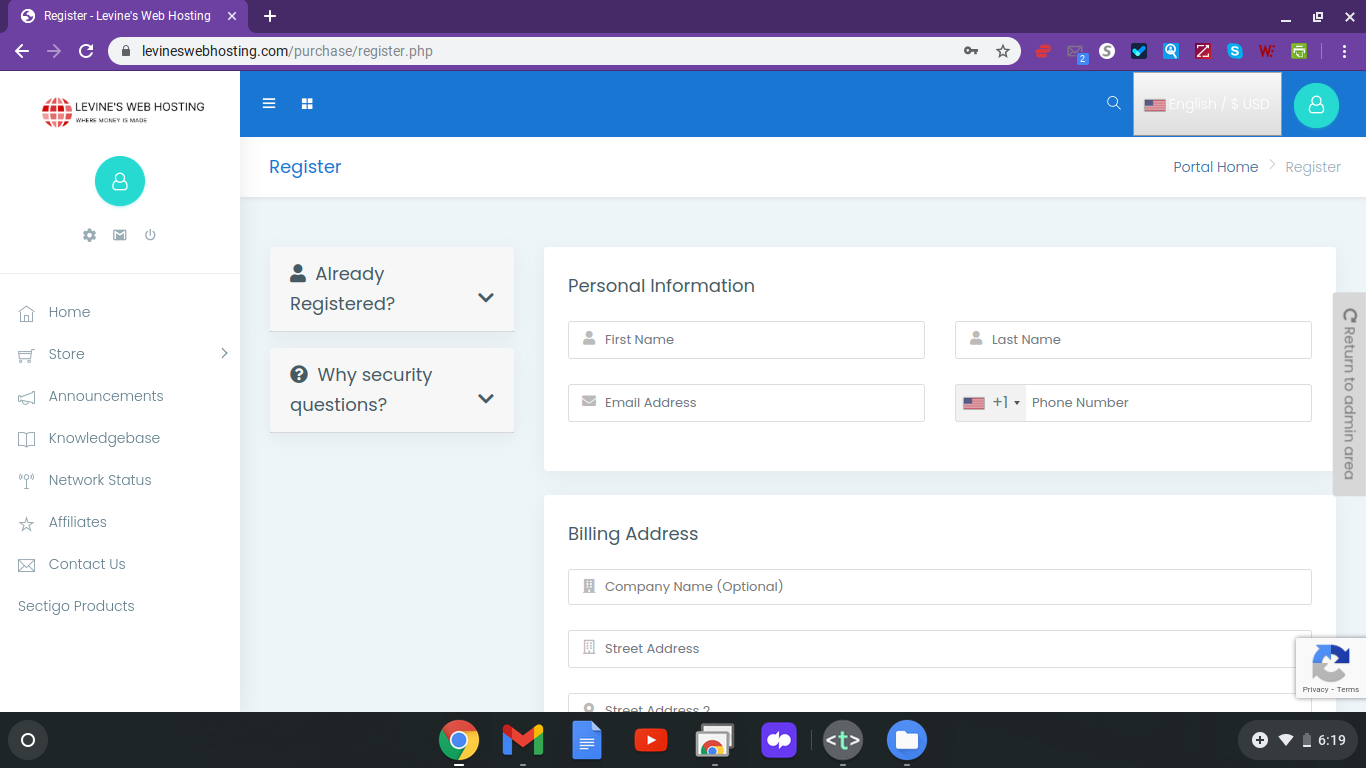
- There are 5 parts to the registration form:
- Personal Information
- First Name
- Last Name
- Email Address
- Phone Number
- Billing Address
- Company Name (Optional)
- Street Address
- Street Address 2
- City
- State
- Postcode
- Country
- Additional Information
- How did you find us?
- This is just a drop-down menu for you to select where you found us, it helps us track where clients came from, give credit to whatever source as applicable, as well as a number of other things as well.
- How did you find us?
- Account Security
- Password
- Confirm Password
- Generate Password
- Please choose a security question
- Please enter an answer
- Join our mailing list
- Yes/No
- This is a toggle allowing you to opt-in to receiving important news, special promotions, etc.
- Yes/No
- Personal Information
- You MUST agree to our Terms of Service (TOS) by checking the " I have read and agree to the Terms of Service" checkbox at the very bottom of the registration form, right above the blue "Register" button.
- If you don't check this checkbox, the system will NOT allow you to create an account.
- Click the blue "Register" button at the very end of the page
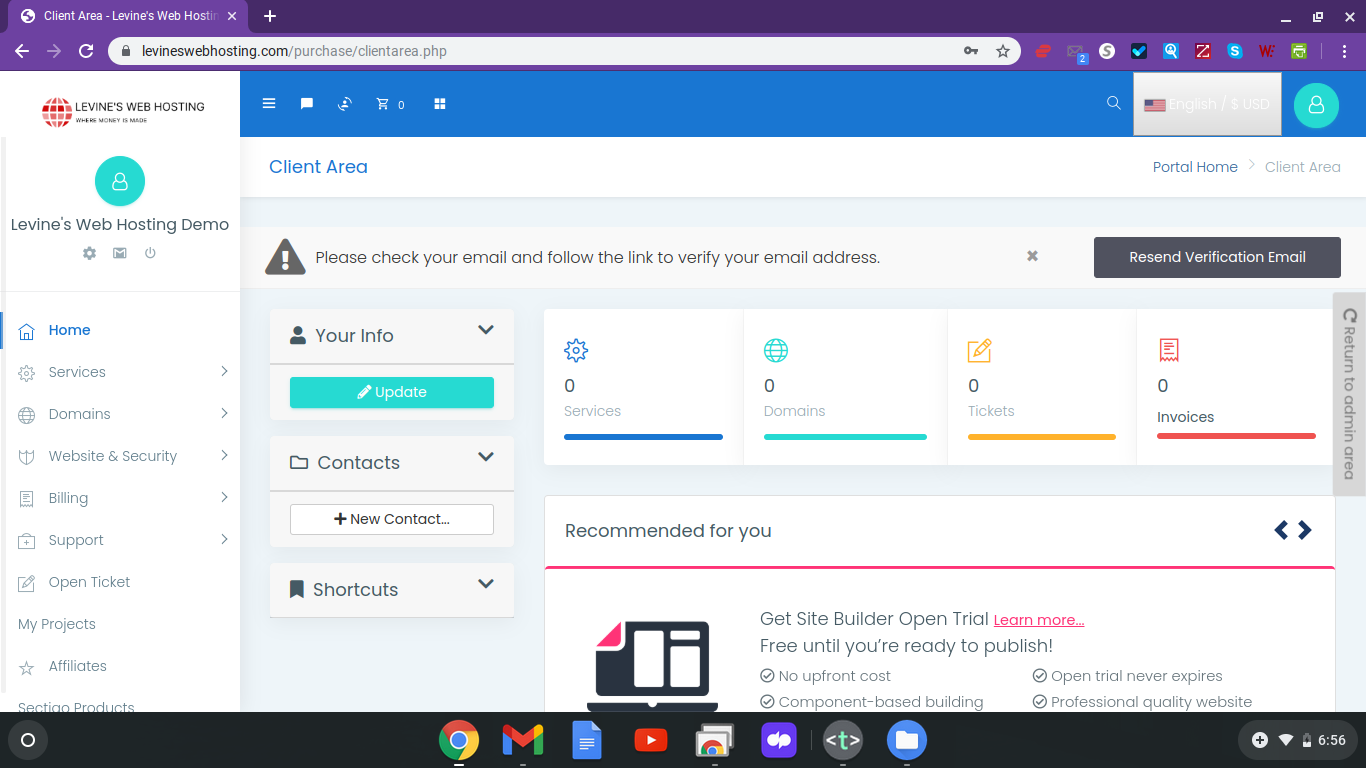
- Once you click the blue "Register" button, if your account was successfully created, you'll be redirected to the "Client Area"
- The URL should look something like https://levineswebhosting.com/purchase/clientarea.php
- The URL should look something like https://levineswebhosting.com/purchase/clientarea.php
- You should have received two (2) emails from the system:
- Email Verification Email
- This is required to confirm ownership of the email address
- Once you receive it, just click the "Verify your email address" button
- If the button doesn't work for some reason, simply copy and paste the URL below the button into your browser
- The link is only valid for 60 minutes
- If the link is no longer valid, simply log in to your account and click the "Resend Verification Email" button in the top right-hand corner of the screen
- Welcome Email
- This email contains general information about your new account including but not limited to:
- Logging in
- Getting support
- Etc.
- This email contains general information about your new account including but not limited to:
- Email Verification Email
That's it! You now have your very own Levine's Web Hosting account!
